Installation
Install the ComfyUI nodes, use the dashboard token flow, download your pre-linked hello-genasset workflow, and verify the first saved asset.
Create a token
Workspace tokens authenticate ComfyUI and Python SDK saves. Create them from the dashboard, not from code examples. Full token values are shown once, so store them like passwords.
- Sign in to GenAsset.
- For a first run, open Onboarding and create the starter token there.
- For normal work, open Settings, then Tokens, and create a token for ComfyUI or Python.
- Keep the token private. Do not paste it into public screenshots, Git commits, or shared workflow downloads.
{
  "base_url": "https://genasset.xyz",
  "workspace_token": "ga_your_workspace_token"
}
Install nodes
In ComfyUI, open Manager, search for GenAsset, install the custom nodes, then restart ComfyUI.
cd ComfyUI/custom_nodes && git clone https://github.com/steliosot/ComfyUI-GenAsset.gitGenAsset Manager
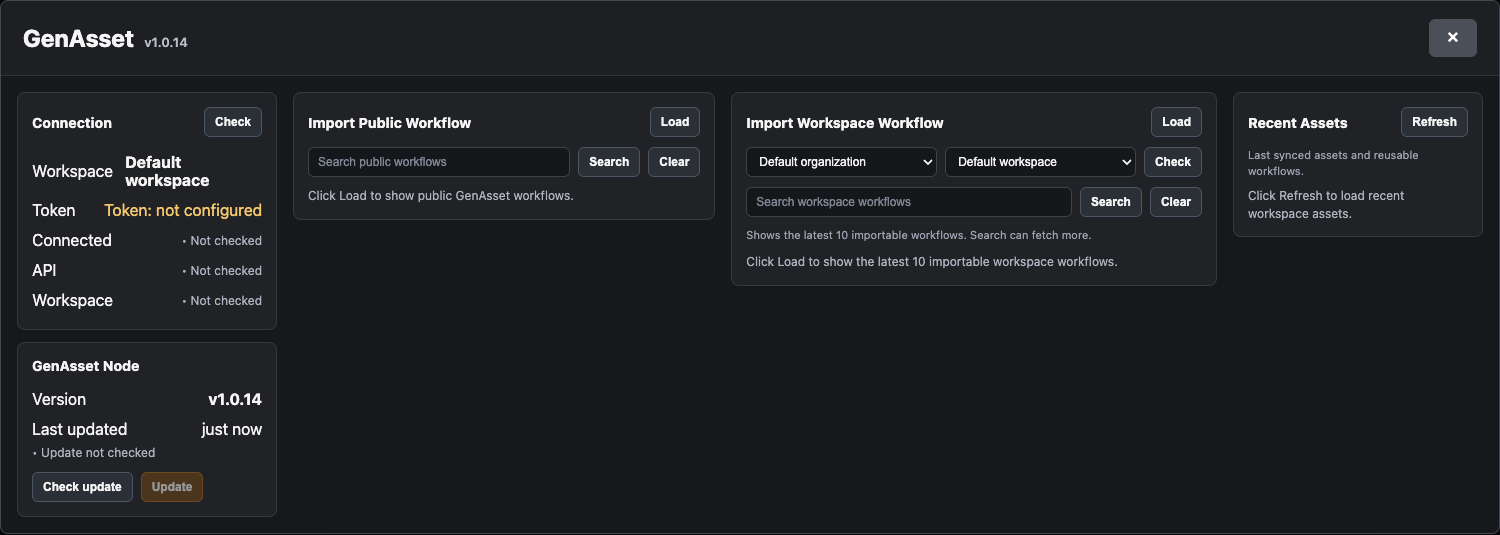
After restart, click GenAsset next to ComfyUI Manager. The panel checks connection status, imports public or workspace workflows, shows recent assets, runs Health checks, and can update the GenAsset node pack in place.
Download workflows
In Onboarding, workflow download stays locked until you create a token on that page. For day-to-day use, the GenAsset Manager can import public and workspace workflows directly into the canvas.
Generates a preview and sends the output to Save To GenAsset.
Loads an existing GenAsset asset, edits it, and saves the next version.
Verify setup
hello-genasset with at least one version and attached metadata.